Linux文件分发脚本,只需一条命令将你的文件分发到各个服务器上
背景
在运维或在日常工作生活中,我们经常会把一个文件拷贝到其它服务器上,或同时分发到多个服务器上,甚至要求目标机将文件放在相同的路径下,方便程序进一步调用。

遇到这种问题,我们通常的做法是使用scp或rsync命令把文件拷贝一个一个地拷贝到多台服务器上,这样做费事费力;大神的做法是使用ansible的playbook一下把事情干完,前提是你得会ansible;快捷的做法就是使用今天的脚本了。
效果演示
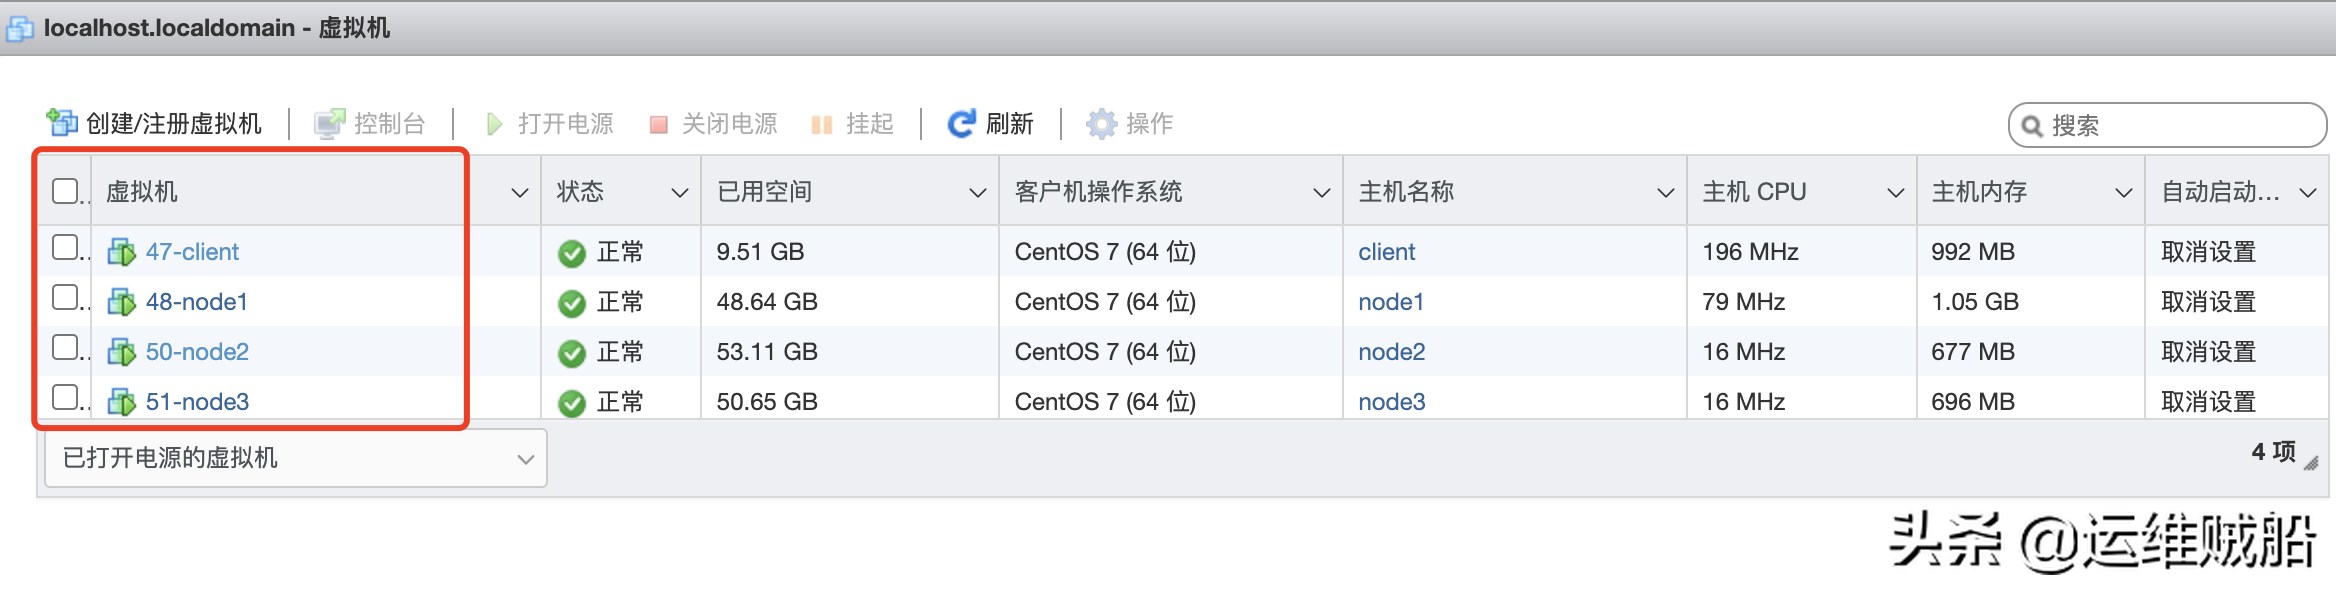
目前拥有4台机器,分别为client、node1、node2和node3,client与其它3台机器能够建立ssh链接。在client的/root/test目录下有a.txt和b.txt两个文件。
[root@client test]# ls /root/test/
a.txt  b.txt
[root@client test]#
我把文件分发到node1、node2和node3的/root/test下,执行以下命令:
# 在/root/test目录下执行, xrsync是我的脚本
[root@client test]# xrsync a.txt b.txt
执行分发过程:
[root@client test]# xrsync a.txt b.txt
============ node1 ============
sending incremental file list
a.txt

sent 93 bytes  received 35 bytes  256.00 bytes/sec
total size is 2  speedup is 0.02
sending incremental file list
b.txt

sent 93 bytes  received 35 bytes  85.33 bytes/sec
total size is 2  speedup is 0.02
============ node2 ============
sending incremental file list
a.txt

sent 93 bytes  received 35 bytes  256.00 bytes/sec
total size is 2  speedup is 0.02
sending incremental file list
b.txt

sent 93 bytes  received 35 bytes  256.00 bytes/sec
total size is 2  speedup is 0.02
============ node3 ============
sending incremental file list
a.txt

sent 93 bytes  received 35 bytes  85.33 bytes/sec
total size is 2  speedup is 0.02
sending incremental file list
b.txt

sent 93 bytes  received 35 bytes  256.00 bytes/sec
total size is 2  spee
到node2上看一下,文件果然存在。同样地,node3和node4也同步过去了。
# node2上查看
[root@node2 ~]# ls /root/test/
a.txt  b.txt
[root@node2 ~]#

# node3上查看
[root@node3 ~]# ls /root/test/
a.txt  b.txt
[root@node3 ~]#

# node4上查看
[root@node4 ~]# ls /root/test/
a.txt  b.txt
[root@node4 ~]#
脚本奉上
整个脚本的代码,只需要把其中的node1 node2 node3修改为自己环境下的主机名或ip地址即可。
#!/bin/bash
# 判断参数是否足够
if [ $# -lt 1 ]
then
 echo Not Enounh Arguement!
 exit;
fi

# 遍历所有的机器
for host in node1 node2 node3
do
 echo ============  $host ============
 for file in $@
 do
  # 判断文件是否存在
  if [ -e $file ]
  then
   # 获取父目录
   pdir=$(cd -P $(dirname $file); pwd)

   # 获取当前目录的名称
   fname=$(basename $file)
   ssh $host "mkdir -p $pdir"
   rsync -av $pdir/$fname $host:$pdir
  else
   echo $file does not exists!
  fi
 done
done
运行条件
为了更方便脚本的运行,建议使用如下优化。
1.修改/etc/hosts文件,加入IP地址与主机名的对应关系,这样方便我们使用主机名直接操作。比如我演示的机器配置。
vim  /etc/hosts
# 加入配置,自己的机器对应修改
……
192.168.31.47 client
192.168.31.48 node1
192.168.31.50 node2
192.168.31.51 node3
2.客户机与目标机之间使用ssh密码验证登录,这样在传输文件时不需要二次验证。
# 生成ssh私钥
ssh-keygen -f /root/.ssh/id_rsa -N ''
# 循环把公钥传递到服务器上,免密登录
for i in node1 node2 node3
do
  ssh-copy-id $i
done

# 根据提示输入密码
3.给脚本加可执行权限,并配置环境变量,使用全局可用。
# 把文件存储为xrsync,加上x权限
[root@client shell]# chmod +x xrsync
[root@client shell]#

# 配置环境变量
# 我把脚本放在/opt/shell下的,自己情况类比修改
[root@client shell]# vim /etc/profile.d/my_env.sh
export PATH=$PATH:/opt/shell

# 配置生效,就可以在全局生效了
[root@client opt]# source /etc/profile
相关推荐
将Fedora 29升级到Fedora 30
 吴振华 · 702浏览 · 2019-05-14 22:00:02
有效避免数据丢失!Redis持久化方案选择详解
manongba · 916浏览 · 2019-05-15 10:58:03
使用Nginx反向代理到go-fastdfs
iamitnan · 724浏览 · 2019-05-23 13:42:00
利用VLC搭建组播流服务器
追忆似水年华 · 2691浏览 · 2019-06-14 11:27:06
如何设计一个优秀的分布式系统?重要因素、工具、策略都在这里
chenguangming9 · 712浏览 · 2019-06-18 11:00:10
用Bash脚本监控Linux上的内存使用情况
吴振华 · 972浏览 · 2019-06-24 11:27:02
分类专栏
最新发布

最热排行

0评论